Back to CrisisManager Main Menu
Library Plans
Library Plans can be used in a variety of ways. Library Plans can be used to house your content that is common across multiple locations or audiences. Administrators can then select icons from the Library Plan to include one or more of them into a “normal” plan. This “normal” plan can be at a sub organization level or within the main level of an Online Portal account. Content updates made to the Library Plan will automatically update the normal plans connected to it.
Library Plans can also be used to add another layer of information inside a plan, known as Plan-in-Plan. The Library plan can be created as one entire piece of content that, when a user taps the icon on their device, will open a new layer of event icons to select from. You can have an infinite number of Plan-in-Plan layers.
Watch the Video Tutorial:

Creating a Library Plan
- Click the CrisisManager logo in the top left corner of the screen to access your home page.
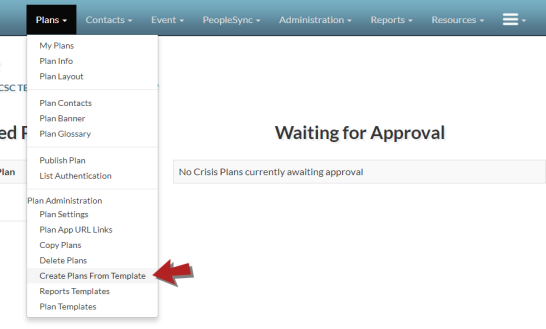
- Click on the Plans tab and then click on Create Plans from Template.
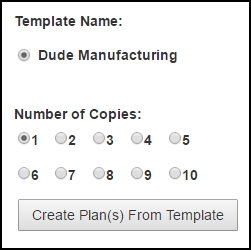
- Select the default plan under Template Name the first time you create a Library Plan and click Create Plan(s) From Template.
- From the My Plans page, click Edit beside the newly created default plan to open the plan.
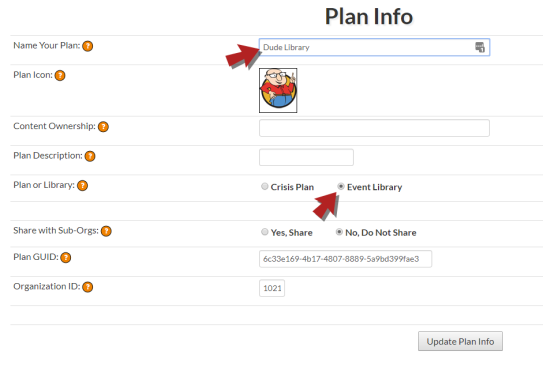
- Rename the library plan.
- Select Event Library and click Update Plan Info to save changes.
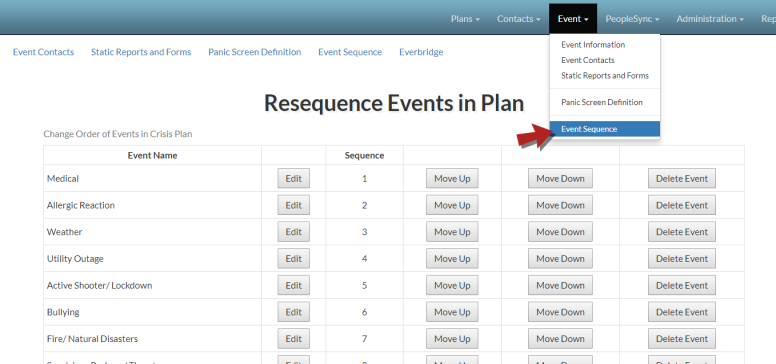
- Click on the Event tab and then click on Event Sequence. Delete out any icons you do not want to house in your Library Plan and add any new ones you want to include.
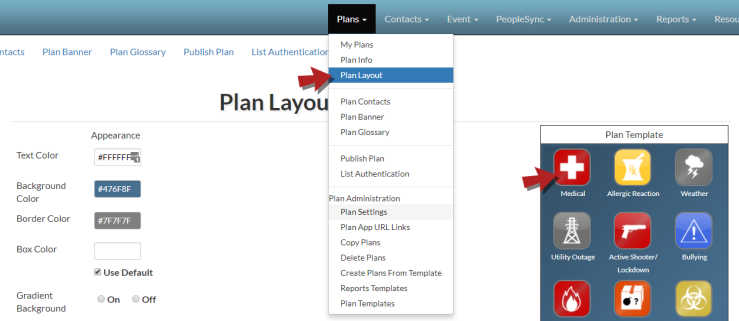
- Click on the Plans tab and then click on Plan Layout.
- Select the event icon you want to enter content for and click Edit.
- Enter and format your content for this event.
- Click Update to save changes. Continue adding content for all of the events in your Library Plan.
Publishing a Library Plan
Once you have created the Library Plan and designated it as an Event Library, you must publish the Library Plan in order to use it to add events to a normal plan.
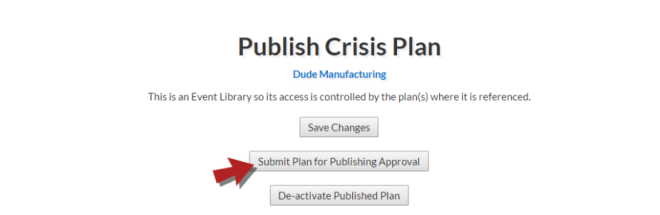
- Click on the Plans tab and then click on Publish Plan.
- Select Submit Plan for Publishing Approval.
- Click Approve and Publish.
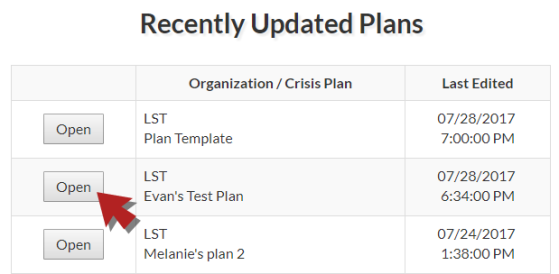
- On the home page, either create a new plan or Open one from the Recently Updated Plans section that you want to add information from the Library to. *Note: If you do not see the desired plan there, navigate to My Plans and click Edit next to the desired plan.
- Once the plan is open, select Plan Layout from the Plans Menu at the top of the screen.
- Click Custom Menu Sequence.
- Expand the Library Plan to reveal the events included in it.
- Select the events from the Library Plan to populate the event in the main plan listing on the left.
- Click Save.

- Click on the Plans tab and then click on Publish Plan to republish the plan.
- Click Submit Plan for Publishing Approval and then click Approve and Publish.
The event icons from the Library Plan are now available within the main plan. If you make updates to the content in the Library Plan, that content will be updated in all of the normal plans connected to that Library Plan.
